Tech Tips: Voltage, Cables, Batteries, Knocks and More
Respectful Disagreement Q: To Steve Turchet and the Tech Tips in concerning a pervious question covered in the October 2021 issue of the military vehicles magazine. In a 24 volt…
Respectful Disagreement
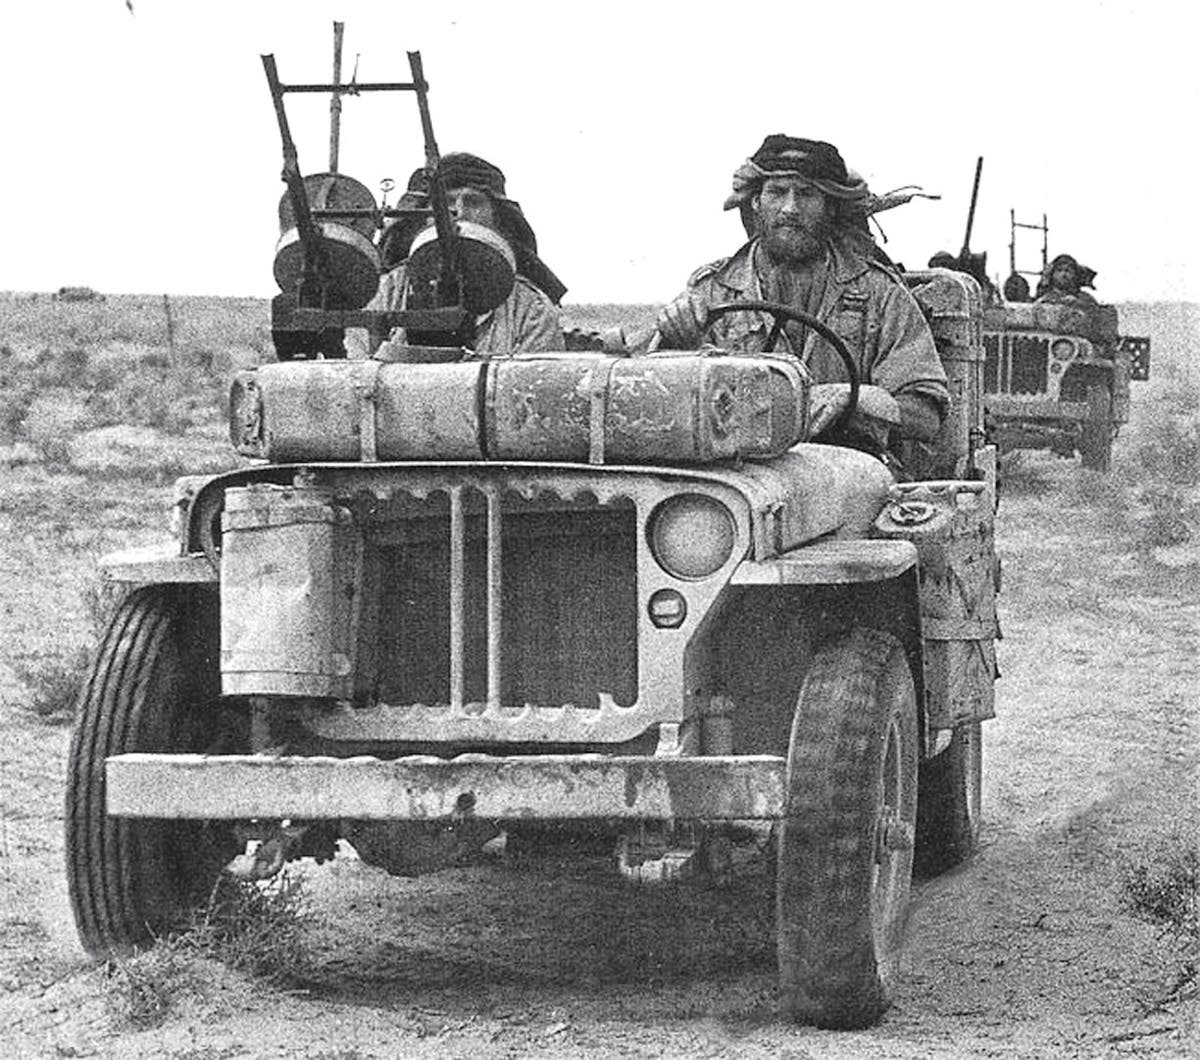
Q: To Steve Turchet and the Tech Tips in concerning a pervious question covered in the October 2021 issue of the military vehicles magazine. In a 24 volt system consisting of two 12 volt batteries, you can’t draw off just one 12 volt battery alone to get 12 volts. However you can draw off both batteries with equal 12 volt loads. In the late 1950s John Deere came out with a 24 volt system for their diesel tractors using all 12-volt accessories. To achieve this John Deere (and very early M135 trucks) generators at that time had two 12 volt outputs. 12 volt positive ground and 12 volt negative ground. (For example two lights on one side, had to be equalled by two lights on the other side) The light switch and the ignition switch were split down the middle. Each side had their own equal 12 volt input battery. Battery A and Battery B. By hooking your CB radio up to just one 12 volt battery the 24 volt system can’t detect a single 12 volt draw and won’t charge the two batteries correctly. Thus a much better approach would be a converter box. I have seen them on eBay for very affordable prices. Or a resistor to bring 24 volts down to 12. Be careful to test the voltage under load for an accurate reading. Speaking with over 45 years experience as a John Deere dealer certified mechanic, by drawing off only one battery severely shortens the life of that battery. Many fire departments have been disappointed using repurposed military trucks by adding a 12-volt fuel pump to only one battery. Don’t let yourself be caught on the side of the road. — Joe Ackerman
A: I have to respectfully disagree… not in theory, but from practical experience. In the late 1970s I had an M37 with its stock 24 volt electrical system using two 12 volt batteries in series. I put a cab-over camper on the truck, and the camper’s interior lighting as well the its exterior clearance lamps were 12 volt. I also installed a CB radio, AM/FM radio, and 8 track cartridge player in the truck’s cab, all of which were 12 volt. I connected the positive input of all the 12 volt lighting and accessories to the positive terminal of the “first” of the truck’s two batteries. Ground was common with the truck’s 24 volt system. I drove that truck for about three years on a daily basis, including a trip from Tucson, Arizona to Seward, Alaska and back, lived in the camper for about a year in the Arizona desert, used the 12 volt lights and accessories every day. and never had any problems with the batteries, which were charged by the truck’s stock 24 volt generator. Battery charge as indicated by the truck’s voltmeter was always 22-24 volts engine off, and 26-28 volts engine running. I bought both batteries new (Sears Die-hards) before setting out for Alaska. and they were still strong when I finally sold the truck. On the other hand, this might be a case where results vary depending upon how such a system is used; and I did occasionally switch the batteries so that both were alternately used as the 12 volt source… which simply seemed like a good idea.
Shuffling Shoes
Q: I have a question regarding the very informative article “Starting Something” dated March 20, 2019. It states, “If the yoke lever has little shoes that ride between the flanges of the clutch drive, the curved sides of the shoes face the engine’s flywheel.” I failed to notice the orientation of the shoes on the yoke from my MAW4025 Autolite starter from my 1948 DeSoto. There’s a convex curve on one side, and a somewhat flatter, but still curved machined or deeply worn land. The back sides of the shoes are definitely flat. Are the convex curves the “curved side of the shoe” described in the article the sides that should face the flywheel? One day, I’ll learn to notice details like this when I’m disassembling things. — Art Bailey
A: Yes, the convex sides of the shoes face the engine’s flywheel. If think about it, this makes sense because when the starter is engaged the yoke and shoes lever the starter drive toward the flywheel so the convex curve makes the action smooth. Many of these types of starters will still work if the yoke is installed backwards, but that wasn’t the way they were designed.
Old Cable, New Use
Q: Steve Turchet did an outstanding job explaining speedometers and tachometers in issue 220. There is one idea that should go along with the repair of a speedometer because the inner core is broken and needs replacement. The broken cable should be retained somewhere where it can be found since it is small enough not to be a bother. Reason: the broken end is almost always ragged instead of being broken off cleanly. That cable can be used to clean gas lines and other small lines like brake lines that are plugged up. It can be chucked into a drill and inserted into the plugged line. The ragged end cuts right through foreign substances causing the plug. Try it. It is amazing and about the only way to clean a line. The broken cable can then be rolled up and stored until needed next time. — Clell G. Ballard
A: Thank you for the useful tip, Clell!
Battery Care
Batteries are often some of the most misunderstood and neglected components of collector or hobbyist military vehicles. Batteries are often blamed for every vehicular electrical problem from slow engine starting to headlights that only burn as bright as birthday candles. However, these problems are more often caused by dirty, loose or corroded connections and wiring. Just as often, while a battery may indeed be low – meaning not fully charged – it’s not because there is anything wrong with the battery… except that its owner didn’t properly service and maintain it. Thousands of perfectly good batteries are replaced every year because they’re thought to be the cause of hard-starting or electrical problems when the actual cause is something as simple as loose or dirty terminal connections. Look at your battery cable clamps for gray fuzz or corrosion every time you open the vehicle’s hood, and make sure the clamps are tight by trying to move them by hand. If your vehicle’s battery or batteries are located somewhere other than the engine bay, check the battery cable clamps for gray fuzz or corrosion at least once a month. Corrosion can also form out of sight between the battery post and the cable clamp. This is usually a kind of hard glaze that has to be scraped or wire-brushed away, so remove the clamps occasionally to check for this. While there are various products to spray on or apply to battery clamps to prevent corrosion, wheel bearing grease seems to work just as well.
Knock-Knock
Q: The Reo Gold Comet engine in my 1954 M35 is making a knocking sound. All my friends say it’s a rod knock and I have to rebuild the engine or it will blow up. I know my truck has very low miles and it’s in good condition so worn out rod bearings don’t seem possible. Is there any way of being sure what is causing this sound? — Hal Mitchner
A: I wish I could give you a specific answer, but accurately diagnosing engine sounds takes years of experience, and even then it’s difficult… especially not being there to hear it. Low mileage is no guarantee that an engine doesn’t have problems, but you’re right in saying that many people call any knock a rod knock. Here are a few tips and procedures. Invest about $20.00 in a stethoscope at an auto parts store. Or you could try a piece of hose stuck in your ear... but two ears are usually better than one. Diagnosing engine noises begins with eliminating possibilities. First, eliminate the accessory sounds, such as the generator and air compressor, by removing their drive belts one at a time. If the noise goes away, then obviously the cause was one or the other, with a worn air compressor being the most likely. If the noise is still there, you should be able to hear it more clearly by not having the accessories going. This also applies to accessories such as power steering and vacuum pumps, as well as air-conditioner compressors. Try to track down the noise with the stethoscope tip (or the end of your hose) held firmly to various places on the engine. Spend a good amount of time putting the hose or ‘scope all over the engine, not just where the sound seems loudest. Try to envision the parts moving inside the engine. You want to train your ear so don’t be in a hurry, but be sure the engine doesn’t overheat with the belts off. Rod knocks are usually loudest at RPMs over 2000. Feathering the gas pedal may produce a back-rattle between 2000 and 3000 RPM. Bad rod knocks may double knock if enough rod bearing material has been worn away to let the piston touch the cylinder head in addition to the connecting rod bearing knocking on the crankshaft. If this is the case, there will be a hard metallic knock from the loose rod bearing with an alternating and more muffled aluminum knock from the piston hitting the cylinder head. Finding out which cylinder has the noisy parts may often be done by removing the spark plug wires at the plug end and grounding them one-by-one. Be sure to ground them or it produces a shock in the ignition coil. If the noise changes when a plug wire is shorted to ground, it’s usually safe to assume that the problem is in the lower-end parts of the engine... piston, wrist pin, connecting rod, or connecting rod bearing. The reason the sound changes is that when you short the cylinder plug wire you’re cutting out the combustion explosions that are slamming the piston downward and making the loose connecting rod bearing knock against the crankshaft journal. If the sound was a piston slap, no explosion in the cylinder affects how the piston is slammed sideways against the cylinder wall, so the sound will change or go away. It’s common in cases of rod-knock or piston slap that more than one piston pin or rod bearing is loose. If the sound doesn’t change when you ground the spark plug wires, then suspect parts other than lower-end. Valve train noises are generally loudest up to 1500 rpm. Mechanical lifters are often noisy, while dirt contamination in a sludged-up engine is the usually the cause of hydraulic lifter noise. Low oil pressure also causes hydraulic lifter noise.
IT’S ONLY WATER
Q: The windshield glass (the part that opens) always leaks on my ‘42 GPW. I have installed two new gasket sets that were advertised as being “exact replacements” but they still leak when I’m driving in the rain. A friend of my father who was in WWII and drove jeeps said they always leaked even when a jeep was new. Is this true?
A: While I wasn’t in WWII - due to the fact that I wasn’t born yet - and so never got a chance to drive a brand new GPW or MB, it’s been my experience that these types of windshields usually leak to some degree, especially at higher speeds and during heavy rain. My solution has usually been duct tape, which is easily removed when no longer needed, and is also available in dark green and even OD. When I drove my M37 to Alaska, I used black silicone to stop the windshield from leaking during the rainy summer months.
BLACK HOLE?
Q: I am about to install a new fuel and vacuum pump on my M38A1 jeep. I am doing a ground up restoration. On the pump body on the opposite side of the drive lever there is a hole tapped for a pipe thread. What is it for? I hesitate to put a plug in it.
— Ronald D. Haviland
A: If your M38A1 has all of its fording system components - as could be confirmed with a manual - then installing a new fuel pump is simply a matter of reconnecting all the lines and fittings that came off the old pump. I looked though my manual, but you didn’t say if the mystery port is on the fuel pump section (bottom) or on the vacuum section (top) of the pump. Both sections have “in” and “out” ports. If the port you describe is on the mid-section it may be for a vent line. Also, keep in mind that many rebuilt or reproduction components, such as fuel and water pumps, may have extra ports or fittings for different applications, though the component itself may work fine without some of these connected to anything. Work the pump’s lever a few times while holding a fingertip over the mystery port. Does it “suck” or “blow” when the pump is activated? If it does one or the other it would be a good idea to consult a manual before plugging it. If it does nothing it may be for a vent... but again, it would be best to consult a manual before plugging or ignoring it. That’s about all I can tell you with the data I have.
KISS (KEEP IT SIMPLE, STUPID)
Q: I first discovered Military Vehicle Magazine at issue 99 and have been a dedicated reader ever since. One of my favorite sections is Tech Tips. However; I have to disagree with your response to “A FORK IN THE ROAD” in issue 132. Having just completed the resurrection (not restoration) of a 1943 GPW, and finding that the throw-out bearing carrier had failed, I removed the transmission and transfer case, replaced the bearing and the carrier, reinstalled the whole assembly, and replaced the clutch fork and cable through the clutch inspection hole. It’s a little tricky, but it can be done. It is not necessary to pull the engine to replace the fork. Sure wish I had read the part about “put a healthy dab of grease in the socket” though! I look forward to your next article. — G. Roark
A: Thank your for the KISS. With a little ingenuity one can make an attachment for a grease gun to get up in there and lube the clutch fork socket. Just be careful not to get grease on the clutch.
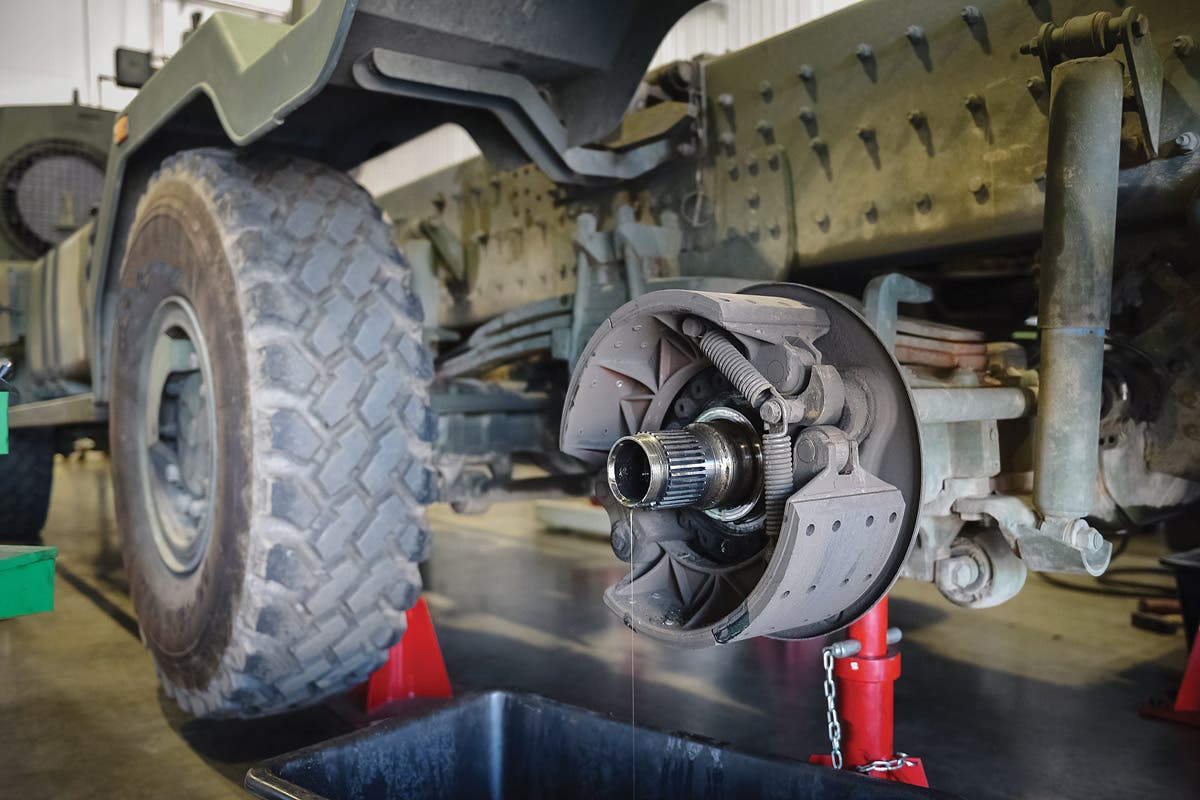
BRAKE DOWN
Q: I recently completed a full restoration of my ‘43 MB. It included a complete replacement of the brake system: lines, hoses, master and wheel cylinders, shoes—everything. During my first event (a Christmas parade), the brakes began to lock and seize. I could get the jeep to move forward, but it took increasingly more gas to do so. Since then I feel the same thing begin to happen when I take it out for a trip around the neighborhood. After sitting in the garage for a day or two, the jeep starts out fine again. My first thoughts were the hoses collapsing or the master cylinder not allowing fluid to return after letting off the brake pedal. But, they’re all new. Others have suggested the shoes heating up and expanding. Whatever it is, it corrects itself when left alone for awhile. Please save me from having a “brake-down.” — Pat Koester
A: You may be on the right track about the brake shoes heating up and dragging. I’ve seen this happen on many vehicles in which new brake shoes were installed or old ones adjusted, and were adjusted too tightly when cold. Most things expand when they get hot, and this includes brake shoes. If they were adjusted too tightly when cold, they will drag against the drum and heat up when the vehicle is driven. And the more they heat up the more they drag. Adjust the shoes cold so you can just hear them rubbing lightly against the drum when you rotate a wheel by hand. My method is to first adjust the shoes out firmly against the drum until I can’t turn the wheel by hand. This seats the shoes and takes up any slack in the components. Then I back them off until they just barely rub. By the way, just because a master cylinder is new doesn’t mean it can’t be defective. I’ve found a lot of defective new, rebuilt, and reproduction components right out of their boxes. If you’re sure that shoe adjustment isn’t the problem, the next thing I would suspect would be the master cylinder. A good rule to follow if one has problems after replacing any parts anywhere on a vehicle is to first suspect the new stuff and/or anything that was changed, altered, replaced or adjusted. I’ve also found that replacing one part of an assembly can throw the other old parts out of wack.
WHICH WAY DID THEY GO?
Q: I am a Vietnam Vet and had a lot of experiences driving MUTTs, that included one rollover. Like you said in your HMV Glossary, most guys called them “jeeps” but I always figured that was a tradition from WWII and Korea. I was able to buy a M151 last year, uncut and in pretty good shape. Taking your advice I also bought a manual. I did a brake job last week and saw the star adjusters were installed backwards from what the manual shows. They seem to work ok this way and the backing plates have two slots so they can be installed either way. Does it make any difference? — Ron Johnson
A: Thank you for your service. In most cases the adjusters can be installed either way, though the correct position, as your manual shows, is with the stars facing the front of the vehicle. This allows easier access on some MUTTS, and the stars will turn in the correct direction when making brake shoe adjustments.
STOP WHINING
Q: I have a 1952 M38. Lately I have heard a faint whining sound in the bell housing when I step on the clutch. Could this be the throw-out bearing? —Mike Morris
A: More likely than not, yes, and if so you should replace it as soon as possible because it will only get worse until the bearing finally seizes up. Since pulling the transmission and bell-housing is not a minor job on your M38, you should probably consider replacing the whole clutch assembly while you have it apart, and also possibly have the flywheel resurfaced. Be sure to install a new pilot bushing. You may also want to install a new front oil seal on the transmission while you have it out.
STOP WHINING — FOLLOW UP
Q: Your reply was right about the bearing. The clutch was almost worn out. When I took it apart I noticed there was a paper gasket between the engine and bell housing. My manual shows this gasket, but I can’t find one for sale. How important is it? Should I make a new one or use silicone seal?—Mike Morris
A: That gasket was only there to enhance your M38’s deep water fording capabilities by keeping water out of the clutch housing. If you don’t have a fording kit and don’t plan to ford your jeep, it’s not essential. However, if you want your M38 to be correct, you can make a suitable gasket from thin gasket paper. Silicone will work for waterproofing, but of course they didn’t have it in 1952.