Tech Tips: More Bleeding, No Bandages
Bleeding brakes with two people is probably the best way. But, I find that when I need to do it, the only person around to help has more idiocy than…
Bleeding brakes with two people is probably the best way. But, I find that when I need to do it, the only person around to help has more idiocy than can be easily overcome — me!
There are several ways to do it alone. Every bleeder I have ever seen has a nipple on it, and every Chilton’s manual I’ve ever seen has the same drawing of a small hose going from that nipple to a jar of brake fluid. The other end of the hose is immersed in the fluid. Cute little bubbles are flowing out. I think if you were to slowly pump the pedal, pause and release, it would work. When you release, fluid is drawn in instead of air.
This method uses a lot of fluid. A friend of mine has had luck doing it backwards. He buys fluid in garage-sized gallon tins and gets a cheap dispenser pump with it. The pump has a long hose on it. One bleeder valve at a time he pumps fluid into the wheel cylinders and lets it flow out of the top of the master cylinder. This pump even has a dummy nipple to use when you put the pump away. If you don’t put the nipple on, it creates a nifty siphon that sucks every drop of fluid out of the can and onto the floor where the fluid ruins everything it touches.
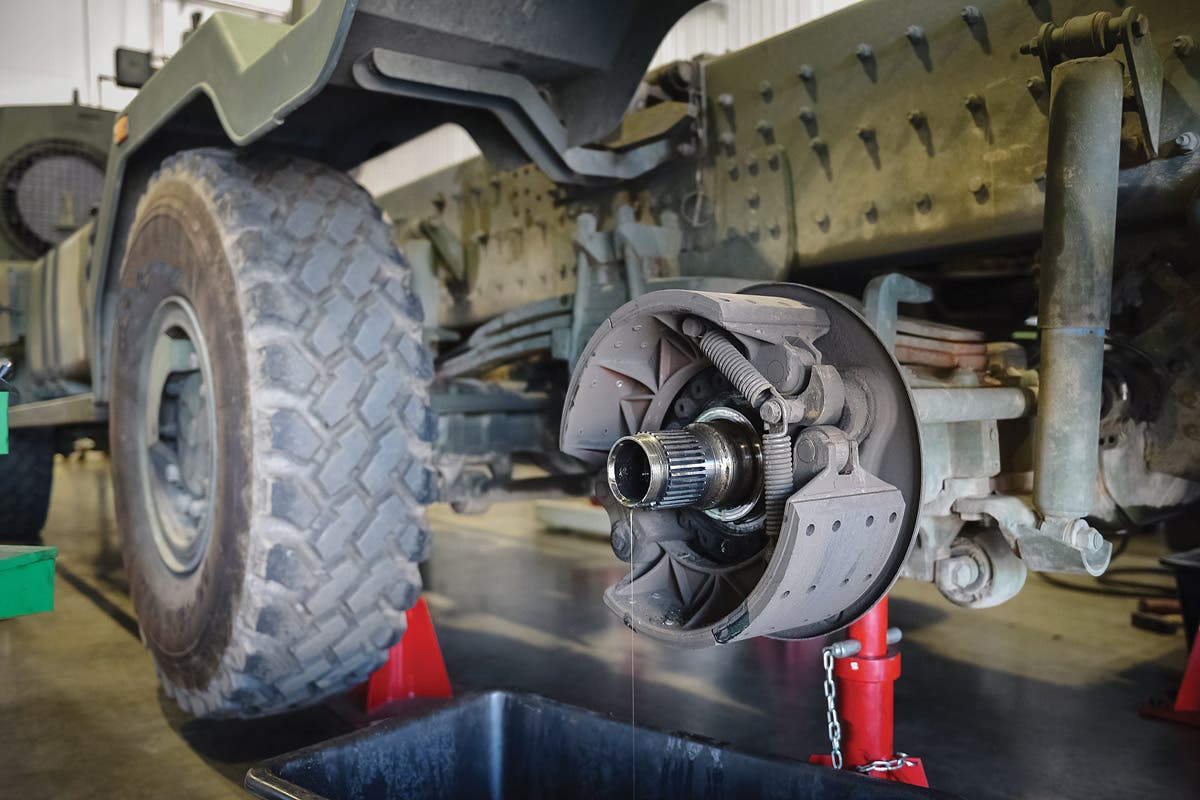
This leads me to how I bleed brakes: After making repairs, I open the bleeder valve in the repaired wheel cylinder and pump the pedal a few times to get fluid flowing out of the bleeder. I don’t press down all the way because it causes the master cylinder cup to go past that rust spot my cylinders always seem to have and get damaged. I let the fluid run out of each bleeder valve one at a time, siphoning fluid out of the master cylinder. You can actually watch the air bubbles pop out of the bleeder valve.
Putting a hose on the wheel cylinder nipple may make a stronger siphon, but I don’t normally bother. It may save the paint on your backing plates.
If the fluid doesn’t flow, there’s a problem. Either the frame-mounted master cylinder is too low (jeeps, M37) or more likely its hose has swollen shut. This is a common ailment on a 40-year-old HMV. You probably ought to change the hose anyway. This method does work on 5-tons with frame-mounted master cylinders. Close the wheel cylinder valve only when fluid comes out. Top off the master cylinder as needed.
For jeeps, I knew a guy who put mechanics wire on the pedal, ran it though a hole in the firewall, wrapped the other end around a bolt, and pulled on the bolt to work the pedal at each wheel.
I’ve had poor luck using power bleeders. I never seem to have the adapter I need, or there is usually a leak somewhere. I’ve had good luck borrowing them at garages for some reason. Maybe they hope you’ll forget to return it!
NEVER use that gadgety vacuum pump system! I tried it once. It sucked a wheel cylinder cup sideways and created a massive leak. Imagine what has to happen on your deuce-and-a-half to put that cup back!
If you learn to bleed brakes yourself, you can let your best buddy be quietly comfortable, and your friendship will last because you won’t be tempted to bean him on the head with your bleeder wrench! — John Lyford
Thank you for your tips about bleeding brakes. While there are many ways to bleed them, the best method is the one that works for you. I’ve always had good luck using a little hand vacuum pump ... though I can certainly understand someone not wanting to use such a pump if they’ve had a bad experience with one. And you’re right, fixing a wheel cylinder cup on a deuce is no fun!
KEEP IT CLEAN
Many people assume that new or rebuilt engine parts come out of their boxes or wrappings clean and ready to be installed. However, this is sometimes not the case.
All new or rebuilt parts should be inspected for cleanliness and washed if necessary. This is especially important with NOS parts for vintage military vehicles ... parts that may have been sitting on shelves for fifty or sixty years. Besides collecting a lot of dust, rust may also be a factor.
The same concept of checking for cleanliness applies to reground crankshafts. Grinding residue may be left on the journal surfaces or inside the oil passages. Wash the crankshaft with hot soapy water, and run a stiff little bottle-type brush through all the oil holes. Also check for proper chamfer on the oil supply holes, or any burrs that might scratch the bearings. If burrs are found, they should be carefully filed away.
CARBURETORS ARE NEW TO ME!
I’m 22 and new to the military vehicle hobby. I just bought a 1963 M37. It has been a learning experience.
I thought I knew a little about cars, but this is the first vehicle I’ve had with a carburetor. The engine runs well but idles rough. I adjust the idle valve on the carburetor when I start the truck and it idles fine. But then after driving, it idles rough again. Could this be an air or vacuum leak? — A. Mitchel
Possibly. However, based on what you’ve told me, my first guess would be that you are adjusting your carburetor, for a smooth cold idle, which is why it doesn’t idle as smoothly after the engine warms up.
Unlike the electronic fuel-injection used on the vehicles of your generation, a carburetor is a rather primitive thing and you have to get to know that particular carburetor on your M37. Since most of your driving will be done with a warm engine, set the idle adjustment so the engine idles best when warm, and use the choke to correct a rough cold idle. After you get to know your truck you can experiment with splitting the difference between the smoothest cold idle and the smoothest warm idle.
WHICH WAY DID THEY GO?
I put new bushings in the control arms on my M151A1 but I forgot which way the coil springs go back in. One end of the springs are flat, and the other end is more round. My manual is no help. — Perry Kline
Neither is mine, Perry. However, in all the MUTTs I’ve worked on, I seem to remember that the flat end goes down.

