Tech Tips 2020 no. 5
Steve Turchet dives into what is ailing your military vehicle
Cooling System Checks
Vehicle cooling system hoses must withstand heat, pressure and vibration. They’re rubber, so they rot, harden and crack with age. That’s why you need both your eyes and hands to detect bad or failing hoses. Bad hoses are puffy, hard, mushy, or wet.
Also check the radiator. Look for leaks on the top tank, and on the front and back of the core and bottom tank. Leaks may not show up when your engine is cold, so look for rust and odd-colored dribbles where coolant has leaked and dried. Later, when you’ve got the engine running at operating temperature, check those places again for wet spots.
Finally, take the radiator cap off… carefully. If the cooling system is hot, open the filler cap slowly until all pressure is gone. Be sure to use a rag or glove to protect your bare hand from a hot cap or hot coolant. The coolant should be a little over the top of the core. It should be almost clear and colored by the antifreeze.
If the coolant is muddy or has bits of gunk in it, your cooling system needs draining and flushing. If you see a rainbow of oil slime on top of the coolant, you probably have a leak inside the engine. Exhaust gas or oil is getting into the cooling system. Pull the crankcase dipstick and check for water in the oil.
Jumpy Jeep
I own a 1952 Willys M38. I have always found your tech tips to be helpful in repairing it.
The transfer case jumps out of gear in 4-wheel drive. Can you suggest what might be causing this problem and how to fix it? Do I have to take out the whole transmission and transfer case just to work on the transfer case? — Bill Holden
I am glad to hear my tips have been helpful! Thank you for reading and taking the time to write.
The most probable causes of your jeep slipping out of front wheel drive could be a weak shifting fork lock spring, a badly worn front bearing, too much end-play in the drive shaft, and/or a bent shift fork. The latter is often caused by trying to force the shift lever in or out of gear.
You can remove the transfer case from your M38 without taking out the transmission. Having the proper manual would be handy, but here’s the short-form: Drain the transmission and transfer case oil. Then, disconnect the parking brake linkage followed by the front and rear drive shafts and the speedometer cable. Then disconnect and remove the transfer case shift levers.
Remove the round cover plate from the rear of the transfer case, then remove the cotter key (if used), then the large nut and washer from the transmission main shaft. Then remove the transfer case drive gear from the transmission shaft. Remove the transfer case mounting bracket (right side).
It will be helpful to have a transmission jack for the last step. Remove the transmission-to-transfer case bolts and the transfer case will be in your hands.
After you’ve found and fixed the problem, follow these steps in reverse to reinstall the case. Use plenty of torque on the dive gear nut.
I suggest either using a new transmission-to-transfer case gasket, which may be obtained from one of the companies that advertise in this magazine, and old-fashioned Permatex gasket sealant, either original or High-Tack, rather than relying on silicone sealant.
Hissing HumVee
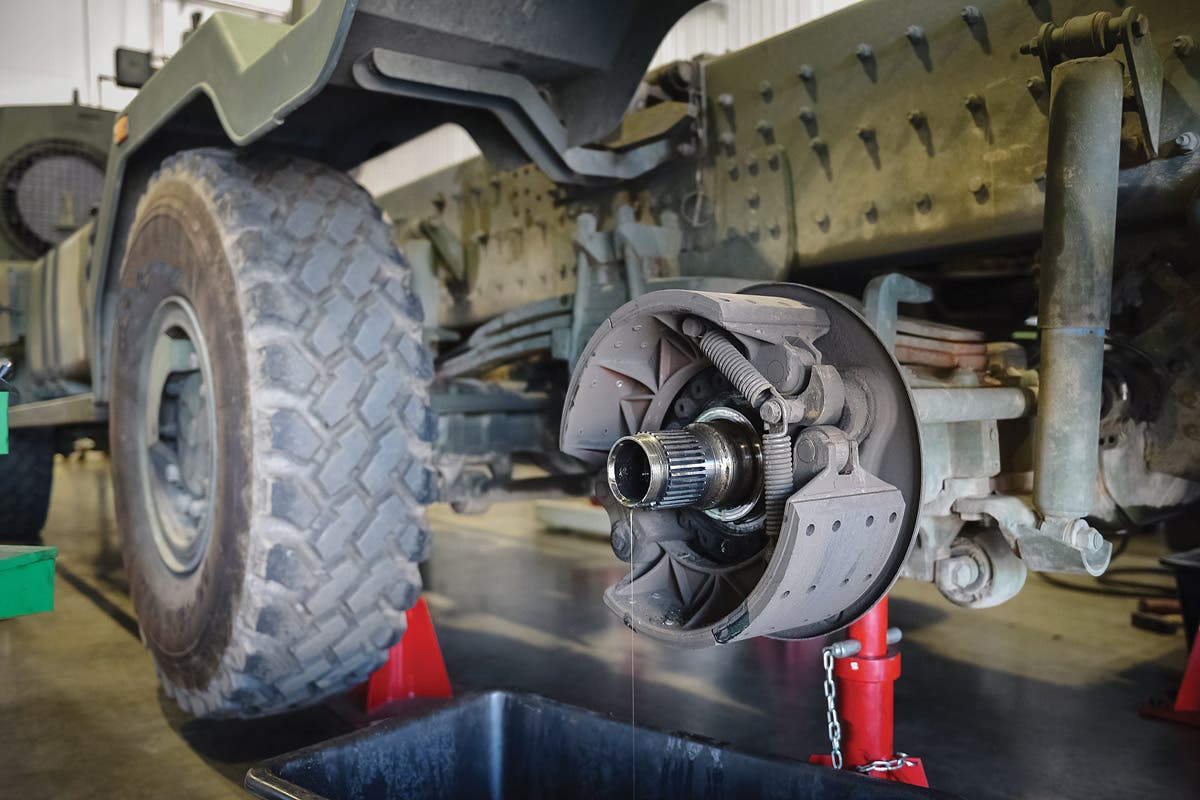
I have a 1997 HMMWV with CTIS (central tire inflation system). One front tire is always low after sitting for few days.
Sometimes I have noticed a faint hissing sound coming from around the front hubs. I don’t know much about the CTIS system, but it seems like it might be a complicated job to repair or rebuild it. — Joseph C. Palmer
First off, if you don’t have the service manual for your HMMWV, you should get it.
Many early model HMMWVs had problems with the front CTIS air line hoses because they were too short and had improper stye fittings, so making a sharp turn strained them.
Take some dish-washing soap mixed with water, squirt it around the front hubs and CTIS hoses. Bubbles will reveal leaks. I suspect your hoses will need replacement after you install the new style fittings.
Clutching A MUTT
I have a 1968 M151A2. The clutch pedal starts releasing almost as soon as I step on it. Does this mean the clutch has to be adjusted? If it does, how do I do that? — Josh McKenzie
Like many automotive terms, clutch adjustment can be misleading. While the clutches of most large, heavy trucks, and large equipment such as bulldozers can be adjusted for wear, the clutches of most light vehicles, such as jeeps and MUTTS cannot.
The only thing that can be adjusted on most light vehicles is the clutch pedal free play. This means the point at which stepping on the pedal pushes the clutch release bearing against the clutch fingers or diaphragm to begin releasing the clutch. As the clutch disk material wears, the clutch pedal release point gets gradually higher.
For most vehicles, the clutch release point should be set about midway down from when one first steps on the pedal. This usually gives about two or three inches of free play, though you should consult your service manual for the recommended adjustment. Pushing down on the pedal with your hand will enable you to feel when the clutch fork contacts the release bearing. I suspect your clutch disk may be badly worn and needs replacement.
M37 Tire Pressure
“What’s the correct tire pressure for your M37 or M37B1?
“Well, some of the vehicle data plates say 40 PSI and some say 45 PSI. The ones that say 40 PSI are right.
“So if you have a data plate that reads 45, blot out the 5 and stamp a 0 in its place like it tells you to in TB9-2320/3” — PS Magazine, July, 1962.
Send your favorite Tech Tip or question to Steve Turchet, c/o Military Vehicles Magazine, 5225 Joerns Drive, Suite 2, Stevens Point, WI 54481, USA, or e-mail jadams-graf@aimmedia.com


