Don’t blow your lid. Stay cool…
by SteveTurchet With summer and autumn, many historic military vehicles (HMVs) are out on the highways heading for shows, swap meets, and/or going on adventures in the bush. Warm temperatures,…
by SteveTurchet
With summer and autumn, many historic military vehicles (HMVs) are out on the highways heading for shows, swap meets, and/or going on adventures in the bush. Warm temperatures, however, may cause cooling system problems in vintage vehicles, most notably overheating. To prevent these problems it’s important, not only to thoroughly inspect and service your vehicle’s cooling system before venturing out, but also to understand how liquid cooling systems work.
In basic terms, heat is energy and energy isn’t destroyed. Instead, energy is converted or transferred from one form or place to another.
Believe it or not, there is no such thing as “cold.” What we commonly call “cold” is only the absence of heat. When we burn fuel in an engine, we’re converting the energy in that fuel into useful power, and heat is a by-product of that conversion... sometimes called, “waste heat.” Unfortunately, there’s a lot of waste heat, because even modern internal combustion engines are far from efficient. And vintage engines, even less so. Therefore, think of engine cooling as transferring waste heat from one place to another... or, in other words, out of the engine and into the air.
For most liquid-cooled engines, water is used as the heat-transfer medium. While there are other liquids more efficient, water is usually available in most places on this planet. The biggest advantage of using water to cool an engine—other than the fact that it’s usually available—is that water boils at around 212 degrees Fahrenheit... give or take a few degrees depending upon altitude. This is a temperature most internal combustion engines can tolerate. In theory, as long as an engine’s cooling system is kept full of water, its temperature can’t rise much higher than that.
Since this article applies to most common HMVs, it should be noted that, except for small generators, the M422 Mighty Mite, the M274 Mule, and a few other comparatively rare MVs, most HMV hobbyist vehicles are liquid-cooled. So, we don’t need much information about air cooling, except in regard to air flow through radiators and engine compartments.
As mentioned, there are liquids other than water that would do a more efficient job of transferring heat out of an engine, as well as offering other advantages such as corrosion resistance, but water is the most common. My International Harvester Truck repair manual recommends water—“soft if available”—as the coolant of choice and suggests antifreeze “only when below-freezing temperatures are expected.” This may surprise some people, but antifreeze is not always a good thing, and more of it is not always better. Unless you live in Antarctica, a 50/50 mix is usually sufficient. More antifreeze than that may actually cause overheating.
Incidentally, I.H.C. does not recommend “water soluble oil” as an anti-rust additive. This might be worth considering, since water soluble oil is the the main ingredient of most cooling system anti-rust products on the shelves of most auto parts stores. The problem is that oil coats the inside of an engine’s water jacket as well as the radiator tubes. This acts like insulation and makes it harder for heat to be transferred. This usually isn’t a big problem, but it does slightly reduce cooling efficiency.If your vehicle is already running on the verge of overheating (more on that later), it could tip the balance.
COOLING SYSTEM BASICS
The cooling systems of most common HMVs have three basic parts. One: A water jacket cast into the engine block that surrounds each cylinder with liquid. Two: A radiator where most of the heat from the water is transferred into the air as it flows through the radiator core. This air is either pulled or pushed by the engine’s fan at low speeds or when the vehicle is stationary. It is forced through when the vehicle is driving down the road. Three: A water pump—the heart of the cooling system. The pump circulates water through the engine block, where it picks up heat, and then pushes the hot water through the radiator tubes where the heat is transferred into the air.
The cycle is completed when the cooled water—which has given up its heat to the air—is pulled back into the engine for another go-around. The heat is not destroyed, it is simply pulled out of the engine block in the water and transferred to the air through the radiator.
REVIEW
Thus far, we’ve learned that the basic function of a cooling system is to take waste heat away from an engine’s cylinders and get dispose of it into the air. For early cars and trucks, getting rid of this waste heat was all that a cooling system was designed to do. For these vehicles, heat was basically a bad thing. The less of it the better. Combustion temperatures for most gasoline engines can get as high as the melting point of cast iron... which could, indeed, be a bad thing.
As technology progressed, however, it was found that the higher the operating temperature of an engine—up to a certain point—the more efficient the engine became. Simply said, it was found that most engines were running too cold, so a way had to be devised to control the cooling system and make it operate within a more efficient heat range. For most common HMVs, this range is between about 160 and 190 degrees Fahrenheit. So a thermostat was added to the system.
LIQUID COOLING FUNCTIONS LIKE A HEART
If the water pump is the heart of a liquid cooling system, then you might think of the thermostat as being its pacemaker. A thermostat is basically a valve which is operated by the heat of the engine’s coolant.
When the engine is cold, the valve is closed and water doesn’t circulate through the radiator but only within the engine block. There is usually a bypass hose or pipe that allows this to happen. So, even when the thermostat is closed, water is still being moved by the pump... but only within the engine block.
When the water becomes hot, the thermostat opens and the hot water is pumped through the radiator where the heat is transferred to the air. If the water gets too cold, the thermostat begins to close again, cutting down the flow. Inversely, if the water gets too hot, the thermostat opens all the way so more can flow though the radiator.
WELL I STILL OVERHEATED!
Maybe you’re thinking, “that’s a nice ‘cooling system 101,’ but it doesn’t explain why my M37 overheated and started spewing out steam last summer! I know the radiator was full of water!”
There could be several reasons this happened. A radiator is basically a component where waste heat from the engine is radiated away or transferred from the water inside to the air outside through thin-walled tubes, usually copper, combined with many layers of fins, also usually copper. These tubes and fins provide a large surface area within a relatively small space. It should go without saying,radiators must be kept clean, both inside and out, to operate efficiently.
Radiators haven’t changed much in over a hundred years. Most are still “vertical,” meaning that hot water is pumped into the tank on top where it flows down to be pulled back into the engine from the bottom... as opposed to a cross-flow radiator where the flow is horizontal from one side to the other.
Many Dodge trucks in the 1930s and 1940s had honeycomb radiators with tubes arranged in an X-pattern instead or vertically or horizontally. Such radiators were a bane to repair shops because they couldn’t be “rodded out,” which, as the term implies, is a way of cleaning the tubes the same way you would clean yourrifle’s barrel.
Most radiators are made of brass and copper, metals that combine durability and corrosion-resistance with good heat transfer qualities. Some automobile radiators are made from aluminum, which is an excellent metal for transferring heat, but is not as resistant to internal corrosion as brass and copper. Some older folks may recall those “funny little French cars” of the 1950s that had steel radiators that rusted out in a few years, especially if oneof them lived near an ocean.
MAINTAINING YOUR COOLING SYSTEM
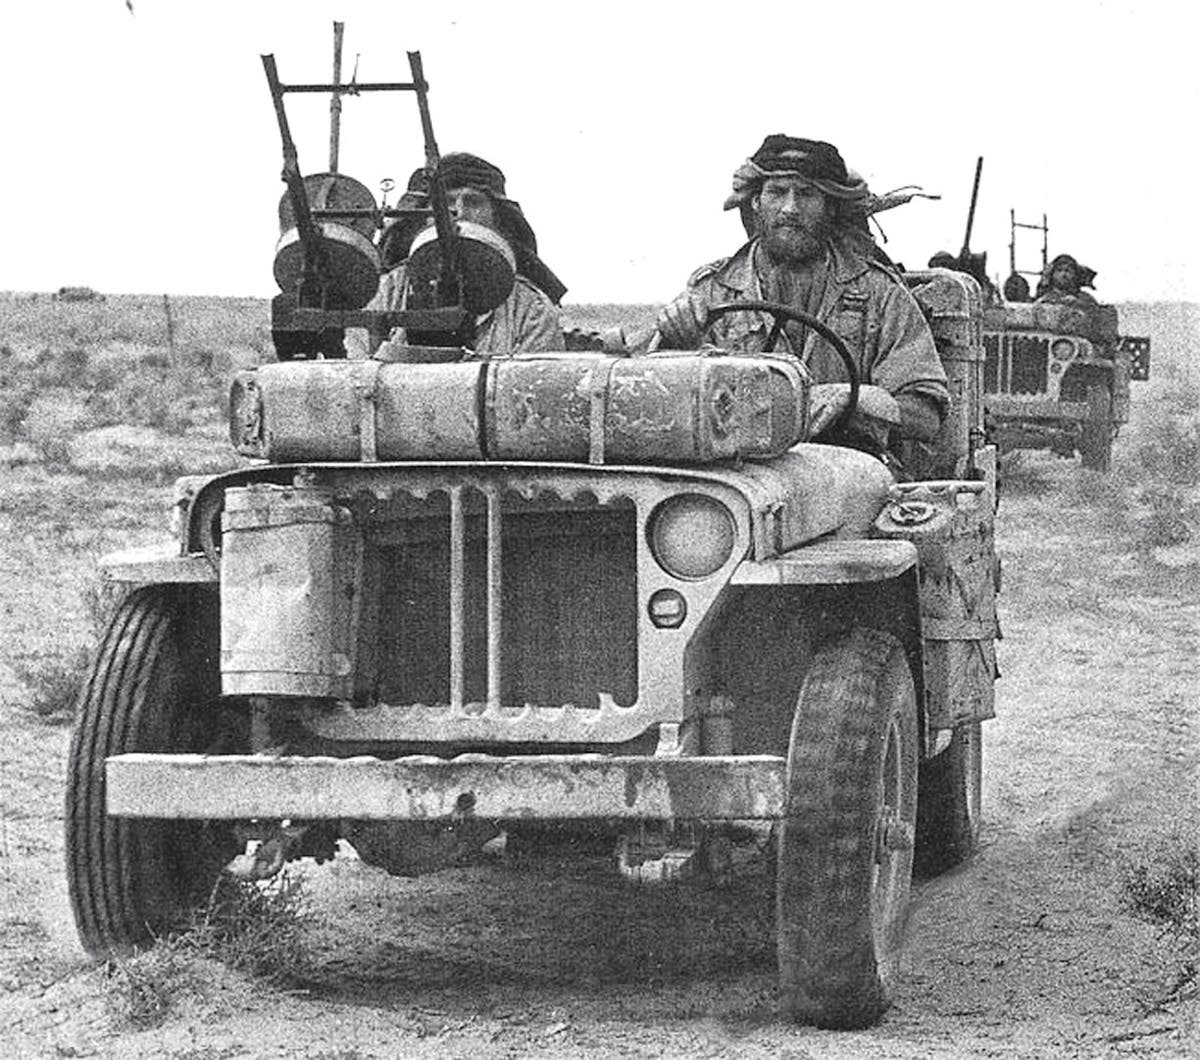
Overheating is probably the most common problem, and I saw a lot of that during the years I lived in the Arizona desert...mostly on other people’s vehicles. This was often compounded by the fact that most people didn’t carry spare water. Even if they did, it was often not enough to completely fill their cooling systems after their vehicle had boiled over. In most cases, not having enough water isn’t much better than having none at all. For most common HMVs smaller than a duece-and-a-half, 5 gallons of spare water should be your minimum at all times. For desert travel, make sure it’s water you can drink even if your vehicle doesn’t need it.
It’s not uncommon for a vehicle’s engine to overheat and boil away all its water even if the cooling system doesn’t leak and you know it was full before you left home. Why? It’s hard to begin at the beginning, because the real beginning would have been to make sure that your cooling system was clean and in good shape before you set out on a trip. If your vehicle’s cooling system had been in good shape and properly maintained, this probably wouldn’t have happened.
A lot of people who keep their HMVs spotless on the outside don’t seem to realize the importance of keeping things clean on the inside. This means everything from air filters and engine oil to the grease in wheel bearings and universal joints. It also applies to cooling systems. Most vehicles leave their factories with a cooling system that’s more than adequate for just about any climate on earth. One could say that most vehicles come with a reserve of cooling capacity built into them.
However, the system becomes dirty in various ways—rust and corrosion within the engine’s water jacket and radiator; silt, scale and sediment from dirty water/coolant that’s never flushed or changed; dead bugs, leaves, dirt and dried mud blocking the air flow through the radiator; and even layers of gunk on the engine block. As the system grows dirtier, your vehicle will gradually lose that reserve and start running on the verge of overheating. Then, all it takes is an unusually hot day, a heavy load, a trip into the desert, or even just being stuck in traffic to exceed the cooling system’s diminished capacity.
Even if the radiator was full of water when setting out on a journey, the engine’s temperature begins to rise because the cooling system can’t get rid of the waste heat fast enough. The pressure rises within the system and some water is lost out the radiator’s overflow tube and/or the surge tank. Now there is less water in the system so the temperature keeps rising and more water is lost. Finally, comes that geyser of steam that most HMVers have experienced at least once in their lives.
Paying attention to the temperature gauge might have prevented this; but some people seem to think they can make it to the next gas station, rest area or waterhole. Maybe it’s not “convenient” to stop now? Speaking from experience, it’s usually more convenient if you get to choose where you want to stop rather than waiting for Old Faithful to make that decision for you!
What to do when this happens is a debated subject, and I can only tell you—after personally frying several engines, and having a few others seize up and/or swallow valves—what seems to work best for me and has also most frequently saved an engine from destruction—this is assuming you have that necessary 5 gallons of water on board! Here’s what to do:
STOP immediately, if at all possible, but do not shut off the engine. It’s been my experience that to shut down a severely overheated engine increases the chance of it seizing up. I’ve always had better luck by doing the following things.
One: DON’T PANIC! Put your shirt on. Roll down your sleeves or put on a jacket. Use gloves if you have them. Work fast, but BE CAREFUL!
As quickly as possible, get your spare water, soak a rag with it, raise the hood and, protecting your hand with the rag (don’t get it caught in the fan), open the radiator cap.
BE CAREFUL AND STAY BACK! It’s likely that the instant you loosen the cap it will go into orbit. EXPECT this to happen. Let it fly away. You can find it later.
EXPECT a lot of scalding hot steam to gush out. When this subsides a little and it seems fairly safe to get close, begin adding water. At first most of the water will instantly turn to steam and spew back at you. EXPECT this to happen!
You will probably also hear some ghastly sounds... everything from “death rattles” to banshee screams. There will be loud thumps and knocks. The radiator may sound like it’s about to burst at the seams. It may even jiggle or vibrate. Grit your teeth and ignore this entertainment.
Just keep adding water. As mentioned, at first most of it will turn to steam and boil away, but if you keep adding it—and have enough—things will gradually get back to somewhere near normal. Running the engine at a fast idle will usually help, but don’t rev it.
After the engine’s temperature has subsided a little, you’ll probably find that you’ve used every bit of your five gallons of water. Your first concern at this point should be getting someplace where there’s more water. But, whatever you were doing before your vehicle overheated, don’t do it again. If you were driving fast, drive slower. If you were pulling a long grade, shift to a lower gear... which will make the water pump and fan turn faster.
DO NOT pass up your next chance for water because you “don’t like the looks of the place.” No matter if it’s the shabbiest desert gas station next door to a biker bar, it is liable to BE the place you’ll get towed (or will be walking back to) if you don’t get more water.
Only time will tell if your engine came through this undamaged. After you get home, and for the next few days, you should check for water in the oil, which could indicate a cracked block or cylinder head, but in most cases means only a blown head gasket. If all seems normal, it would still be smart to check the torque of your cylinder head bolts. ...AND replace the thermostat. Ordeals such as this severely stress a thermostat, and it will probably fail very soon... if it hasn’t already.
Other factors that could have caused an engine to overheat in this kind of situation—assuming the cooling system was full of water, a hose didn’t burst, and the water pump was okay—could have been a thermostat failure to begin with, or a loose fan belt. Check your fan belt often for proper tightness, but remember that overtightening a belt puts excessive strain on water pump and accessory bearings.
If the inner surface of a belt is glazed it usually means the belt has been slipping. Sometimes you can remove the glaze with sandpaper, but a badly glazed belt should be replaced. Glazed pulleys can also be sanded to give a better grip for the belt.
CHECK OUT THE THERMOSTAT
A thermostat seems to be something that’s often misunderstood, so let’s check it out. Does your engine really need a thermostat? Many folks have been advised now and then by shade tree mechanics to just take it out, especially in hot country.
This is not a good idea. In many cases the engine will run too cold... but, you may also find that it will overheat. Why? Because without a thermostat to control the flow, the water may circulate through the radiator so fast that it doesn’t have time to get rid of its heat. Thermostats are fairly cheap and easy to replace in most common HMVs, so if your vehicle is driven frequently, it’s wise to replace it about every five years. It’s also smart to carry a new spare thermostat and gasket in your vehicle.
When a conventional thermostat fails, it stays closed, which, as we learned, does not let water circulate through the radiator, so your engine overheats. Like many automotive items, thermostats vary in quality. However, since they’re important components, spend a few dollars more for a top-quality thermostat and you’ll seldom have problems.
Another minor item that can cause major overheating problems is the radiator cap. An old cap that doesn’t seal allows water to escape.
Even most WWII vehicles used a pressure cap... as opposed to a non-pressurized cooling system. A radiator cap’s gasket deteriorates with age and use, so it’s wise to replace a cap about every five years. Keep the old cap in your vehicle: It might come in handy if your other one blows off into a canyon or falls into a storm drain. Also check the gasket and the radiator or surge tank’s filler neck for rust flakes or debris that may keep the gasket from sealing.
WHAT ABOUT REPLACING HOSES AND BELTS?
Many articles have appeared in magazines and on websites about when to replace fan belts and radiator hoses. Not surprisingly, most such articles are written by companies that make fan belts and radiator hoses.
There’s no universal rule about when to replace such items; but you should follow your instincts... it’s usually better to be safe than sorry. A logical time to replace all your belts and hoses is when you first acquire a vehicle. This is also a good time to remove the radiator and have it professionally cleaned, as well as cleaning the engine block, both inside and out. It would also be a good idea to replace the radiator cap and thermostat, and maybe the water pump as well. This way, you start with a clean slate, knowing that everything is new. Otherwise, you will just have to use your own judgment and common sense.
If a drive belt or cooling system hose looks aged, and/or feels hard and brittle, or too soft and squishy, it’s probably time to replace it. Even if it isn’t bad, the peace of mind should be worth the small cost and effort. You can always keep the old belts and hoses aboard your vehicle for emergencies. Products such as Armor-All seem to work well in preserving them.
Another thing to consider about cooling system care is how the vehicle is used. Naturally, if you’re planning to spend the summer exploring the desert, you willwant everything to be new. On the other hand, a burst radiator hose or a broken fan belt shouldn’t be much of a problem if all you use your Jeep for is trips to the local Quickie-mart.
CLAMP IT!
Wire hose clamps, vintage or NOS, may be correct for show, but they’re hard on hoses. Use modern band-type clamps unless you’re a total purist. A friend of mine has two sets of hoses for his Willys MB, one set with OEM wire clamps for show, and another set with band clamps for daily driving.
Hose clamps will loosen over time due to constant expanding and contracting caused by heating and cooling. Get into the habit of checking them for tightness whenever you’re under the hood.
On the other hand, don’t overtighten clamps so they distort the hose. Over-tightening clamps may also cause a hose to break. Clamps should be positioned about a quarter-inch in from ends of the hose, not at the very end. When installing clamps, position them where it’s easiest to reach the tightening mechanism with a screwdriver.
If you need a big hose clamp but don’t have one, you can often connect two small clamps together... this only works with the band-type, of course. If you need a small clamp but don’t have one, try making a collar around the hose with another piece of hose. This also works in reverse: if a hose is too big for a fitting, then make an inner sleeve from another piece of hose. Carry a few assorted size clamps with you... they do sometimes break.
Hose clamps can also be useful for other roadside or bush repairs, such as clamping a beer can around a leaky exhaust pipe. When installing new heater hoses, cut them a little longer than necessary, then if they break at or near a connection you can cut off the bad part and re-attach them.
Good quality duct or electrical tape can often patch a burst hose well enough to get you out of trouble... assuming you have spare water. If you patch a hose in this manner, keep the radiator cap loose, or its lever raised, to prevent pressure in the cooling system.
A WORD ABOUT CLEANING THE RADIATOR
Keeping your vehicle’s cooling system clean will go a long way in preventing overheating problems. Can you clean out your radiator and engine block at home? To some extent, yes, but never as well as a shop can do it.
The best and safest way to clean an old radiator at home is to simply keep draining and flushing the whole system with the engine warmed up and running until the water comes out of the drain plugs clean. Another thing you can do is remove all the drain cocks and plugs from the engine block and radiator, then attach a garden hose somewhere—a heater hose connection is good—and run the engine a while with sufficient water going in from the garden hose to match the volume running out through the drains.
Don’t forget to back-flush the outside of the radiator by spraying it with a hose from inside the engine compartment to wash out all the dead bugs and dirt. Be careful with high-pressure washers... they can damage fins and tubes.
For HMMWVs in regular use, the cooling stack should be checked and cleaned once a year. Radiators should be painted only with special radiator paint, which doesn’t affect heat transfer capabilities.
Still, the best way to clean a radiator is to take it to a shop that you trust, where they will remove the top and bottom tanks and rod-out the tubes. Beware that most of today’s radiator shops don’t like to work on vintage radiators, because a simple rodding out often turns into a bill for a whole new core... and you become very upset.
Most reputable shops will warn you beforehand—some will tell you that the “only thing holding your radiator together is dirt”—so be prepared. A few disreputable shops may try to sell you a new core to begin with, so get a second opinion. If you can’t afford a new or re-cored radiator, and if you’re not having cooling problems, then just flush the system yourself and leave well enough alone.
The same goes for engine blocks: The best way to clean them is to strip them completely and have them boiled at a shop. (Of course, if you’re doing all this then you might as well rebuild the engine at the same time.) The next best thing is to remove all the soft plugs and dig and wash out as much of the rust, scale and silt as you can. Use Permatex when installing new plugs.
REPLACE THE PUMP
When to replace your water pump? Most typical HMV water pumps should last from about fifty to eighty thousand miles. The best way to check your pump is to remove the fan belt and spin it by hand. It should turn freely. If it seems sticky, draggy, or makes any sort of grating or squealing noise it’s time to replace it.
Even if it spins freely and silently, grab the fan and try to shake it. A small amount of play in a water pump shaft is normal. How much is too much is hard to define, but if you have any doubts, why not replace it so you won’t have to worry?
Rebuilt pumps are usually just as good as new ones, but, as with most vehicle components, one often gets what they pay for. If the pump is leaking from the shaft seal, replace it. For older type pumps with lube fittings, use waterproof grease... boat trailer wheel bearing grease is good.
Lastly, you should carry a can of good quality stop-leak, but try not to use this stuff if you can avoid it. Obviously, anything that seals leaks will also seal other things, and may clog radiator tubes.
By keeping your HMV’s cooling system clean and well maintained, plus always carrying enough spare water for emergencies, both you and your vehicle should be able to stay cool—in any situation.