Historic Military Vehicle Buying tips: Is it the RIGHT vehicle for you?
Make sure you check these 20 pre-purchase items before buying a surplus or antique military Jeep, truck, tank, or other vehicle
It’s that time of year when a collector’s mind drifts into daydreams of buying and driving a historic military vehicle. Whether the object of that fantasy is a jeep, deuce-and-a-half or maybe even a tank, there are few things to keep in mind when buying your first historic military vehicle.
TWO KINDS OF BUYERS
While there may be many subsets, there are essentially two approaches to buying an historic military vehicle: “Impulse” or “Methodical.” Neither is correct.” Both have merits and both have pitfalls. I will guarantee, though, if you have read this far, you have already moved from the category of “impulse buyer” to that of “methodical” buyer.
To recap, however, an impulse buyer is the guy who wakes up not realizing that by the end of the day, he will be a historic military vehicle owner. The impetus of the impulse might be as simple as driving by a vehicle with a “For Sale” in the window or just browsing eBay during lunch.
Regardless, the impulse buyer doesn’t put a lot of thought up front in the decision making process. He tends to believe, “It will all turn out okay.” The impulse buyer is a good guy to know, because sooner or later, his impulses will drive him to a new interest. That historic military vehicle (HMV) that he just had to have will become so much clutter to him. You may be able to buy it for a song, just to get it out of the way for the next product of his impulse response.
If you have read this far, you can already call yourself a “methodical” buyer, because you have slowed down your searching for a vehicle to see if there is something more you should consider. But just calling yourself a methodical buyer, doesn’t mean you are automatically a “smart” buyer. To earn that that precarious title, there are a few basic things you should do before you hand over the check.
MVM’s 20 PRE-PURCHASES POINTS TO CONSIDER
Over the years, Military Vehicles Magazine has worked out a list of things an informed buyer should consider when examining a vehicle. Our technical editor, Steve Turchet, is to be credited for establishing this basic checklist, something that has a hobby standard.
#1 TIME OF DAY: Never inspect a vehicle at night, even in a lighted garage. Darkness has a way of making things appear better than they really are. (Remember Ben Franklin’s famous quote, “All cats are gray in the dark?” He wasn’t talking about military vehicles, but the same principal applies!) Daylight is always best.
#2 DON’T BUY A VEHICLE WITHOUT A TITLE. Ask if the seller has a clear title or all of the documents necessary to legally transfer and register/license the vehicle, and ask to see them. Check that the vehicle’s I.D. number on its data plate matches the number on the paperwork. Nothing will cause you more grief as a historic military vehicle owner than not having a clear title.
#3 GENERAL APPEARANCE: Unless you are buying a restored vehicle, general appearance—is not important. However, if the vehicle is very dented, scarred, muddy or dirty, this usually means it was used hard. If a cargo vehicle, check the bed for signs of severe use or overloading. Check for rust in body parts, especially under cargo beds, in the lower portions of the body, cab and doors.
#4 MILEAGE: Don’t pay much attention to the miles shown on the odometer because it’s very common for HMV speedometers to be switched or replaced. “Low mileage” should be the norm for HMVs, not the exception. A more accurate judgment of mileage and use can usually be made by checking the wear on the clutch, brake and accelerator pedals, as well as the wear on the driver’s side door latch mechanism.
#5 ENGINE, GENERAL: It should be fairly clean. It should start easily both warm and cold, run and idle smoothly, and there shouldn’t be any deep knocking sounds to warn of loose rod or main bearings. Also listen for loose piston pins, which will generally be most apparent on highway acceleration at about 30-35 mph.
#6 ENGINE OIL: Check for correct oil level on the dipstick, and look for milky or greenish oil, which usually indicates a water leak from a head gasket or cracked block, but don’t confuse this with a little green or white scum that you may find in the oil filler tube. The latter is normal. Also check for oil or bubbles in the radiator when the engine is running, which usually indicates a water leak in a cylinder. Oil pressure when hot should run around 40-45 psi when driving (or about midway on the gauge) and about 10-15 psi at idle.
#7 ENGINE SMOKE: No smoke is ideal. “White smoke” is usually steam and normal when an engine is cold. However, if it continues after an engine has warmed up, it often indicates a leaking head gasket or serious problems such as a cracked head or block. Blue smoke indicates oil burning and that there is almost always something seriously wrong. Black smoke indicates too much fuel. Black smoke is fairly normal upon hard acceleration but should not persist.
#8 ENGINE COMPRESSION: Doing a compression test on the engine is a smart idea, but pay more attention to the consistency of readings between the cylinders rather than how high the compression is: there should not be more than a 20 psi difference between the lowest and highest cylinder readings. Low compression on two adjacent cylinders usually indicates that the head gasket is leaking between them.
#9 ENGINE ACCESSORIES: Shake the fan—with the engine off, naturally—to check for loose water pump bearings. Listen for whining or squealing sounds that may indicate worn out generator or alternator bearings. Also check the condition of the fan belt. A lot of black dust around the front of an engine usually indicates slipping or misaligned fan belts.
#10 COOLING SYSTEM: Look for badly rusted or leaking soft plugs in the engine block, and check for radiator leaks. If it appears that the radiator has been spewing water from the overflow pipe, indicating chronic overheating, the thermostat may be stuck closed and/or the engine block may be badly rusted inside. Check the radiator hoses for old age and cracks. Hoses should be flexible; extreme hardness indicates old age. A very soft or flabby feel indicates internal rot.
#11 GEAR OIL: Check the gear oil levels in the transmission, transfer case and axle differentials. Look for water (greenish color) and metal particles in the oil. Gear oil should be fairly clean: black or tarry indicates very old, worn out oil.
#12 LEAKS: Look underneath the vehicle when it is warmed up and running for oil leaks from the engine, transmission, transfer case, and axles, though a few drips here or there are normal for most vintage MVs.
#13 CLUTCH: Check for proper free play of the clutch pedal—about an inch and a half—and listen for a noisy clutch release bearing when the clutch pedal is depressed. If the vehicle shudders when letting out the clutch from a stop, it may mean the clutch disk is worn out, the flywheel is warped, and/or there is oil on the clutch disk. Loose or broken engine and transmission mounts are another possibility.
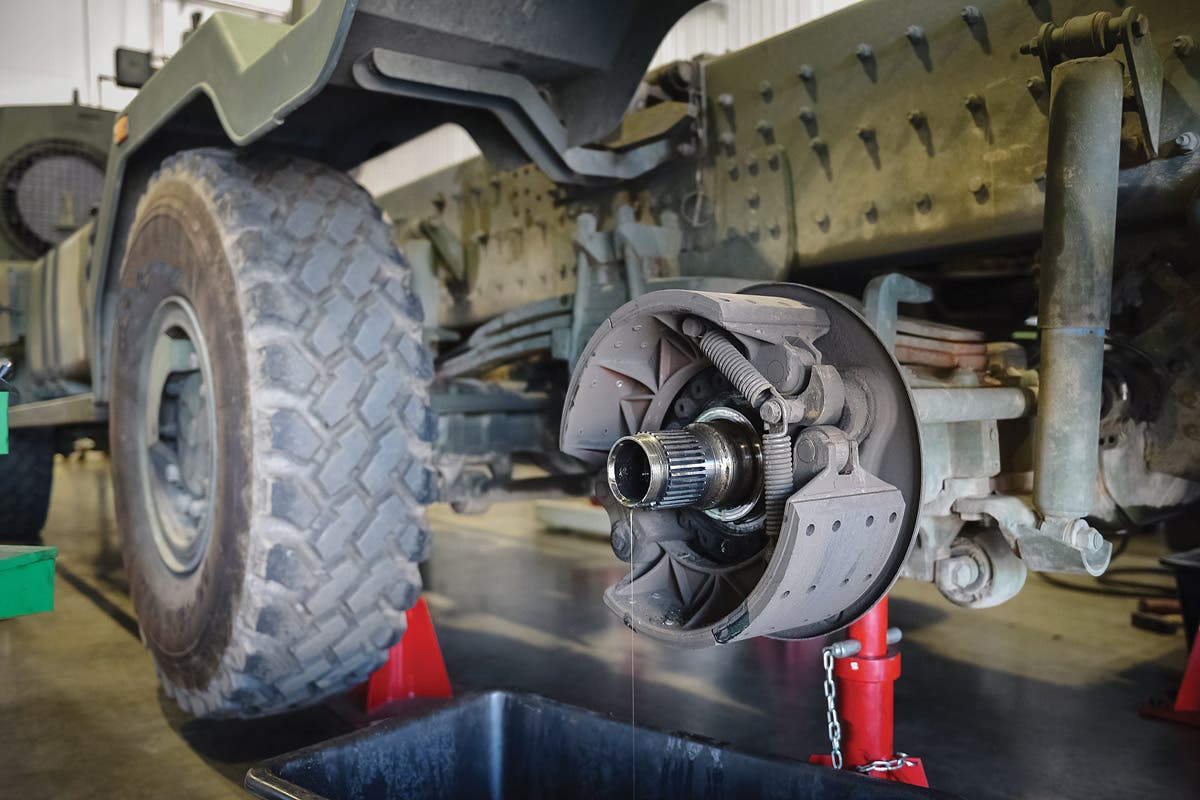
#14 BRAKES: Check that the brake pedal doesn’t go more than halfway to the floorboard before the brakes take hold the first time you step on it. Having to pump the pedal several times before the brakes take hold may only mean that the shoes need adjusting, or it could indicate that the shoes are worn out.
If the vehicle pulls to one side every time you step on the brakes, there may be oil or grease on the shoes or pads. Metallic scraping sounds often indicate badly worn shoes or pads. On disk brakes, inspect the rotors and pads for wear. If the brake pedal vibrates when stepped on, it usually indicates warped drums or rotors. The parking brake should hold the vehicle on most reasonable inclines.
#15 CSI: Snoop in places like under the seats, way back in the glove box, and in the tool compartments on the sides of the bed for items such as several cans of brake fluid, STP or radiator stop-leak. A single can of brake fluid may only show that the truck’s owner was prepared, but two or three usually indicate brake problems. Old receipts in the glove box can go a long way to backing up a seller’s claims of installing new or rebuilt parts and/or of having repairs done.
#16 WIRING: Examine all the wiring for frayed spots or rotten insulation. Check to be sure all the lights are working, as well as the instruments, especially the oil pressure and temperature gauges. See that the ammeter or voltmeter shows that the batteries are charging at any engine speed above idle. Also check the windshield wipers and horn for proper operation.
#17 STEERING: Check for excessive play in the steering system, and try to determine whether it is in the tie rods, drag link or the steering box. Jack the front wheels off the ground and shake them to check for loose wheel bearings and worn out steering-knuckle bushings.
#18 TIRES: Check for obvious wear, damage and excessive aging. Examine the front tires for cupping or irregular wear, which usually indicates misalignment, and/or loose steering knuckle or wheel bearings. Be wary if the rear tires are cupped but not the front: this usually means they have been switched around.
#19 TEST DRIVE: Let the seller drive first and pay attention to how he treats the vehicle. While one would logically assume a seller would baby a vehicle in such situations, this is not always the case.
Listen for loud howls or whines from the drive train. Most older model transfer cases whine because of the arrangement of their gears, but they should not scream. Lots of rumbling vibration that gets louder the faster you go may indicate loose universal joints or yokes, or bent or unsynchronized drive shafts. It is fairly common for older Jeeps to jump out of second gear on compression, but most other MVs don’t. There should be no front end shimmy, a lot of drive train vibration, or much body rattle.
#20 SECOND LOOK: If possible, always come back the next day for another look at the vehicle. In the time between inspections, review your checklist in private without the seller hovering about you. This will give you a chance to check your references, contact other knowledgeable hobbyists and prepare yourself to look at certain problem areas again. You will always find things you missed on the first inspection. A second look will often prevent “buyers remorse.”
NOT “ONE IN A MILLION”
It is important to remember that most military vehicles were produced in the thousands. Don’t be afraid to walk away if your pre-inspection doesn’t produce good results. There will always be another vehicle to purchase.
Patience is often the very best attribute you can carry to a potential purchase deal. There are very few, truly “one of kind” vehicles in this hobby. If there is one, there is probably another one just waiting for you to discover it. Don’t become an “impulse buyer with regrets.”
You may also like:
*As an Amazon Associate, Military Trader / Military Vehicles earns from qualifying purchases.


